The Comprehensive Guide to Replacing Bearings: A Step-by-Step Tutorial
Introduction
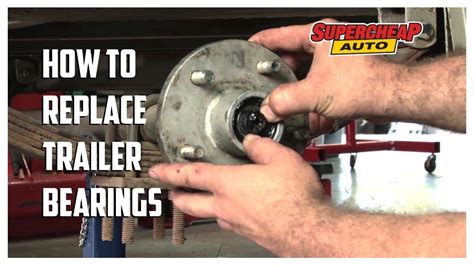
Bearings are critical components in a wide range of machines and equipment, from industrial machinery to everyday appliances. They enable smooth motion by reducing friction and wear between rotating surfaces. Regular maintenance and timely replacement of bearings are essential to ensure optimal performance and extend the lifespan of equipment.
Types of Bearings
There are various types of bearings, each designed for specific applications. Some of the most common include:
-
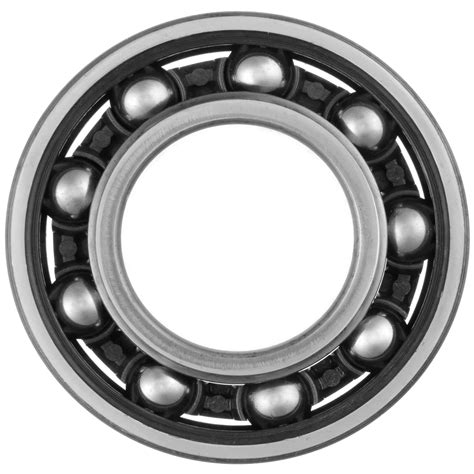
Ball bearings: Use ball-shaped elements to support radial loads.
-
Roller bearings: Use cylindrical rollers to support axial loads and heavy radial loads.
-
Needle bearings: Use slender, needle-like rollers to support heavy loads in a compact space.
-
Thrust bearings: Designed to support axial loads primarily.
Signs of Bearing Failure
Early detection of bearing failure is crucial to prevent catastrophic damage. Common signs include:
-
Noise: Unusual noises, such as grinding or squealing, can indicate bearing wear.
-
Vibration: Excessive vibration can be a sign of bearing damage or misalignment.
-
Overheating: Bearings that are running too hot may be damaged or overloaded.
-
Reduced performance: Worn bearings can cause equipment to run less efficiently or with reduced power.
Replacing Bearings: A Step-by-Step Guide
Replacing bearings requires careful attention to detail and the use of proper tools. The following is a general step-by-step guide:
Assessment and Preparation
-
Identify the type of bearing: Determine the type of bearing that needs to be replaced. Refer to the equipment manual or contact the manufacturer.
-
Gather tools and materials: Ensure you have the necessary tools, such as wrenches, sockets, a bearing puller, and a new bearing.
-
Prepare the shaft and housing: Clean the shaft and bearing housing to remove any debris or contaminants.
Removal
-
Secure the shaft: Use a wrench or socket to hold the shaft in place to prevent it from rotating.
-
Use a bearing puller: Attach a bearing puller to the bearing and apply force to remove it from the shaft.
-
Clean the mounting surfaces: Use a clean cloth to remove any grease or debris from the shaft and bearing housing.
Installation
-
Lubricate the shaft: Apply a thin layer of bearing lubricant to the shaft.
-
Insert the new bearing: Carefully align the new bearing with the shaft and insert it into the bearing housing.
-
Tighten the bearing: Use a wrench or socket to tighten the bearing in place according to the specified torque.
Post-Installation
-
Check alignment: Ensure that the bearing is properly aligned and that there is no excessive play or binding.
-
Lubricate the bearing: Add the recommended amount of lubricant to the bearing.
-
Test the equipment: Run the equipment and observe for any noise, vibration, or other abnormalities.
Common Mistakes to Avoid
- Using improper tools or techniques
- Installing the bearing in the wrong orientation
- Overtightening or undertightening the bearing
- Failing to lubricate the bearing properly
Effective Strategies for Bearing Replacement
- Regularly monitor equipment for signs of bearing failure.
- Use high-quality bearings from reputable manufacturers.
- Follow the recommended maintenance schedule for equipment.
- Train technicians on proper bearing replacement techniques.
- Keep a record of bearing replacements for future reference.
Tips and Tricks
- Use a rubber mallet to gently tap the bearing into place.
- Apply anti-seize compound to prevent the bearing from seizing on the shaft.
- Use a torque wrench to ensure the bearing is tightened to the specified torque.
- Run the equipment for a short period to break in the new bearing before putting it under full load.
Humorous Stories and Lessons Learned
Story 1: A maintenance technician was replacing a bearing on a large industrial machine. After removing the old bearing, he realized he had forgotten to order a new one. In a moment of desperation, he grabbed a ball from his son's toy box and inserted it into the machine. To his surprise, the machine ran smoothly for several hours before finally breaking down again.

Lesson: Always have the necessary parts on hand before starting a repair.
Story 2: A technician was replacing a bearing on a washing machine. He accidentally dropped the bearing into the machine's drum, where it rolled around and caused the washer to shake violently. The technician panicked and quickly shut it off, but not before the bearing had punched a hole through the side of the drum.
Lesson: Be careful when handling bearings, and always double-check that nothing has fallen into the machine before starting it.

Story 3: A homeowner was replacing a bearing on his lawnmower. He successfully removed the old bearing but had difficulty installing the new one. In his frustration, he grabbed a hammer and hit the bearing with all his might. The bearing shattered, and the homeowner was left with a broken lawnmower and a bruised hand.
Lesson: Never use excessive force when replacing bearings. Always follow the manufacturer's recommended torque specifications.
Useful Tables
Table 1: Bearing Failure Rates
| Bearing Type |
Estimated Failure Rate (hours) |
| Ball bearings |
10,000-100,000 |
| Roller bearings |
20,000-200,000 |
| Needle bearings |
50,000-500,000 |
| Thrust bearings |
30,000-300,000 |
Table 2: Bearing Load Ratings
| Bearing Type |
Radial Load Rating (kN) |
Axial Load Rating (kN) |
| Ball bearings |
0.5-50 |
0.1-20 |
| Roller bearings |
1-100 |
2-80 |
| Needle bearings |
0.5-20 |
0.1-10 |
| Thrust bearings |
2-100 |
5-50 |
Table 3: Bearing Lubrication Recommendations
| Bearing Type |
Lubrication Type |
Lubrication Interval (hours) |
| Ball bearings |
Grease or oil |
500-1,000 |
| Roller bearings |
Grease or oil |
1,000-2,000 |
| Needle bearings |
Oil |
2,000-4,000 |
| Thrust bearings |
Grease or oil |
1,000-2,000 |
Frequently Asked Questions (FAQs)
Q1: How often should bearings be replaced?
A: The frequency of bearing replacement depends on the type of bearing, the operating conditions, and the maintenance schedule of the equipment.
Q2: What are the most common causes of bearing failure?
A: The most common causes of bearing failure include overloading, misalignment, improper lubrication, contamination, and corrosion.
Q3: Can bearings be repaired or reused?
A: In some cases, bearings can be repaired or reused. However, it is important to consult with a qualified technician to determine if repair or reuse is appropriate.
Q4: What are the consequences of ignoring bearing failure?
A: Ignoring bearing failure can lead to catastrophic damage to equipment, resulting in downtime, reduced productivity, and increased repair costs.
Q5: How can bearing replacement costs be reduced?
A: Bearing replacement costs can be reduced by using high-quality bearings, following proper maintenance procedures, and extending bearing life through optimal lubrication and operating conditions.
Q6: What are the benefits of using precision bearings?
A: Precision bearings offer higher accuracy, reduced friction, and increased durability, leading to smoother operation and extended equipment life.
Q7: How do I choose the right bearing for my application?
A: Consider the bearing type, load capacity, speed, operating conditions, and environmental factors to select the appropriate bearing for your application.
Q8: What is the importance of proper lubrication for bearings?
A: Proper lubrication is essential for reducing friction, dissipating heat, and preventing premature bearing failure.
